

We had the mother of all rainbow birthdays this weekend for my sweet six-year-old Madison. My house looked like a unicorn threw up all over. It was epic fun. A hyperactivity inducing, spectrum spectacular. Brightly colored craziness. We had a blast. The pièce de résistance of the party was a stunning six layer rainbow cake.… Continue reading Rainbow Happiness Six Layer Cake
Tag: baking
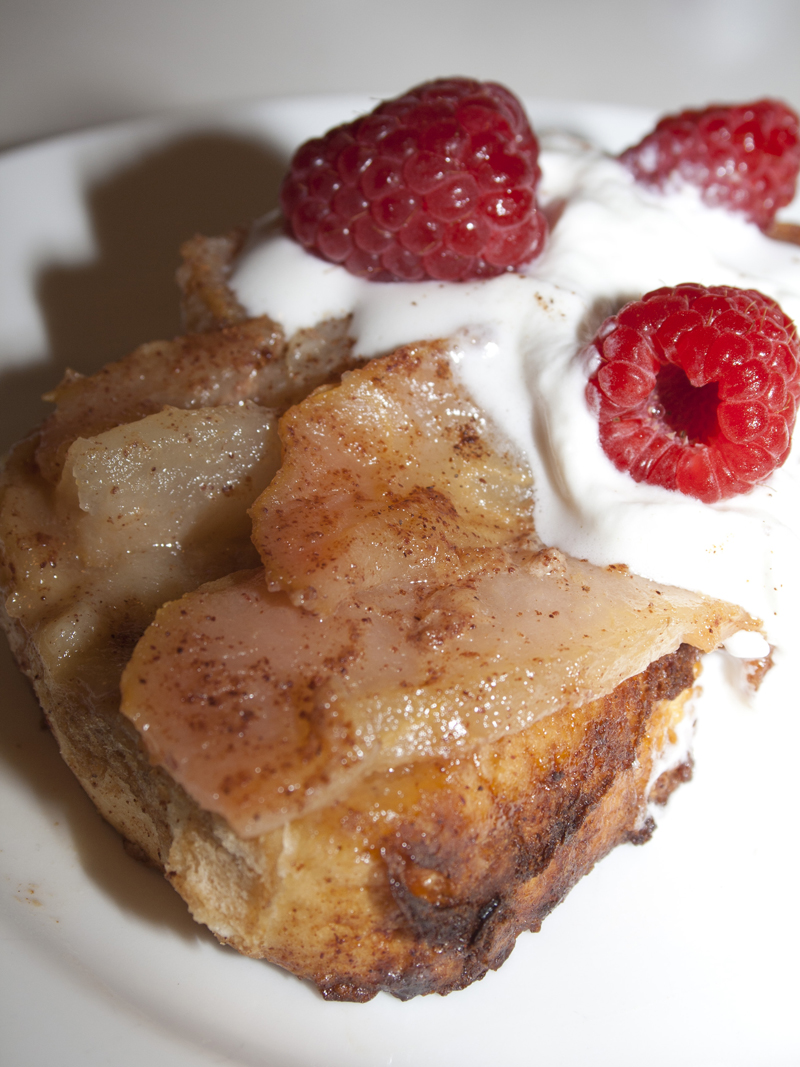
French Toast with Spiced Pears
I was given a big bag of pears from my mom last week from the bounty of her orchard. Ok, it's not a real orchard, just a few trees in her yard. But my mom's green thumb is absurd. She's like the plant whisperer. There's so much fruit on her trees, you'd think she had… Continue reading French Toast with Spiced Pears
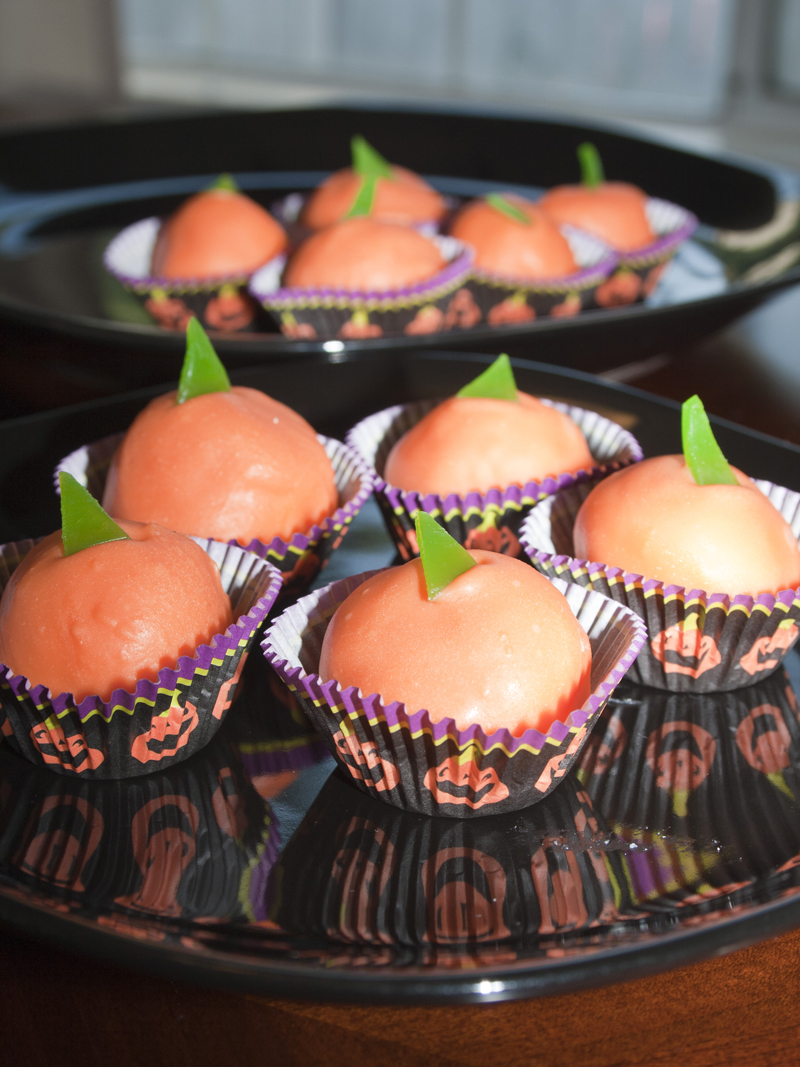
Foggy Morning Mini Pumpkin Cheesecake Balls
Fall is here! This morning I was treated to my favorite weather on earth. Fog. Wonderful, misty, curl up with a book in front of a fire fog. Chilly damp mystery novel fog. I love it. I think it's deep in my English blood to adore a nice foggy morning. Or so my Nanny tells… Continue reading Foggy Morning Mini Pumpkin Cheesecake Balls
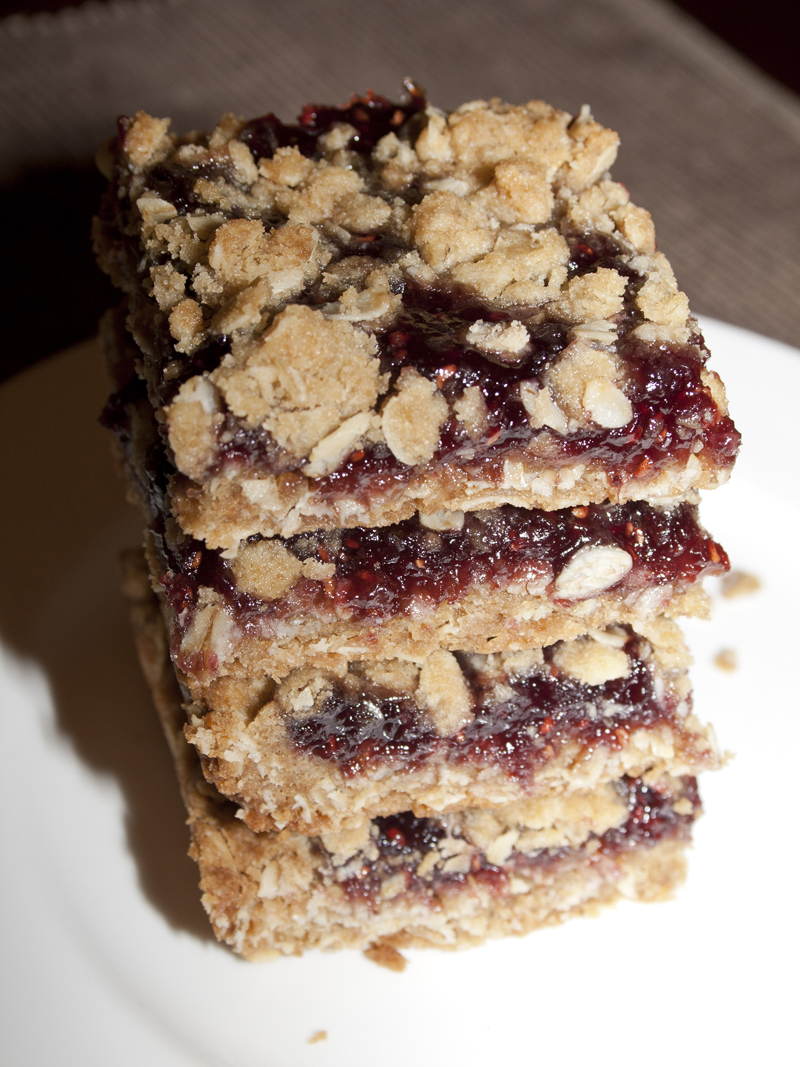
Raspberry Oatmeal Cookie Bars
In the past several weeks I made two monumentally bad choices. Probably more, but these two will probably haunt me the rest of my life. The first mistake was trying salt n' pepper pistachios for the first time. Please hold your judgement until you find out the other thing I've never had before. Pistachios pale… Continue reading Raspberry Oatmeal Cookie Bars
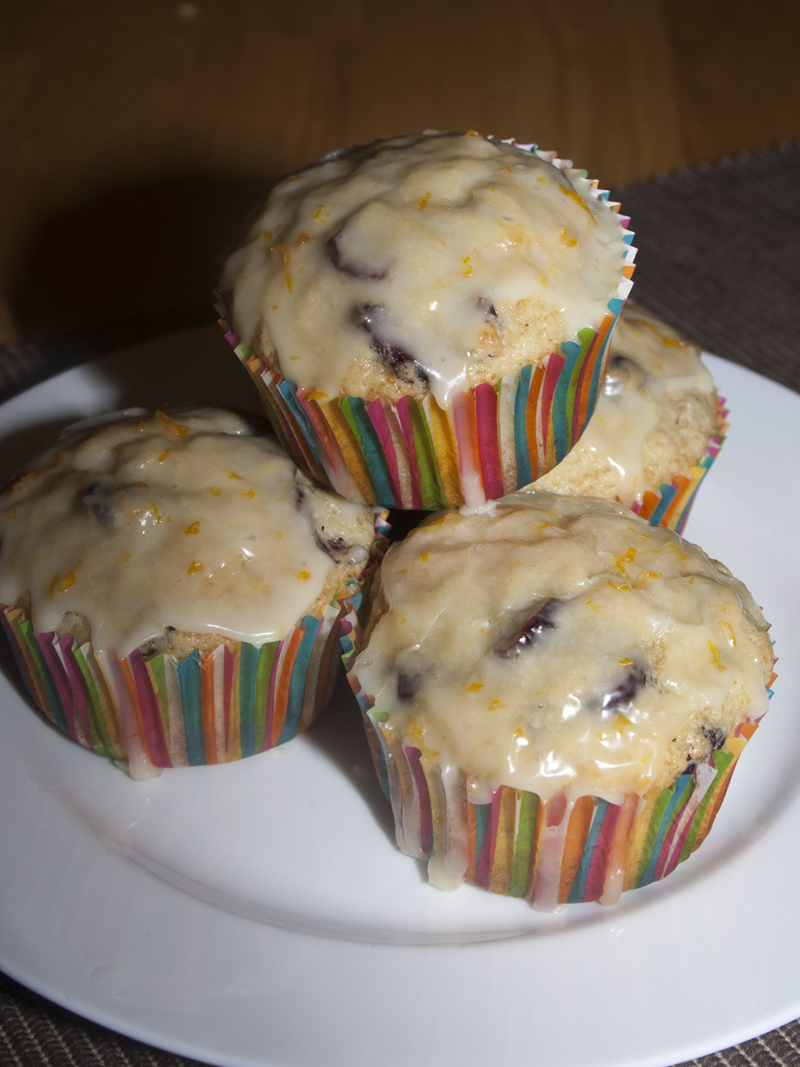
Glazed Cranberry Orange Muffins
I made these muffins because I was feeling too lazy to make my famous scones, but wanted a similar kind of breakfast item to bring with us camping. I hate being lazy. Especially when preparing for camping. My scones aren't even really hard, just more difficult than dumping everything in a bowl, then into a… Continue reading Glazed Cranberry Orange Muffins

Sopapilla Cheesecake
Who would have thought that cinnamon sugar, puffy warm bread and cream cheese filling would blend together in a totally divine delicious way? I always think of cheesecake with fruit or chocolates, never did I think of combining it with flaky golden pastry and sweet cinnamon sugar. Mind. Blown. Mouth. Happy. I love sopapilla and… Continue reading Sopapilla Cheesecake
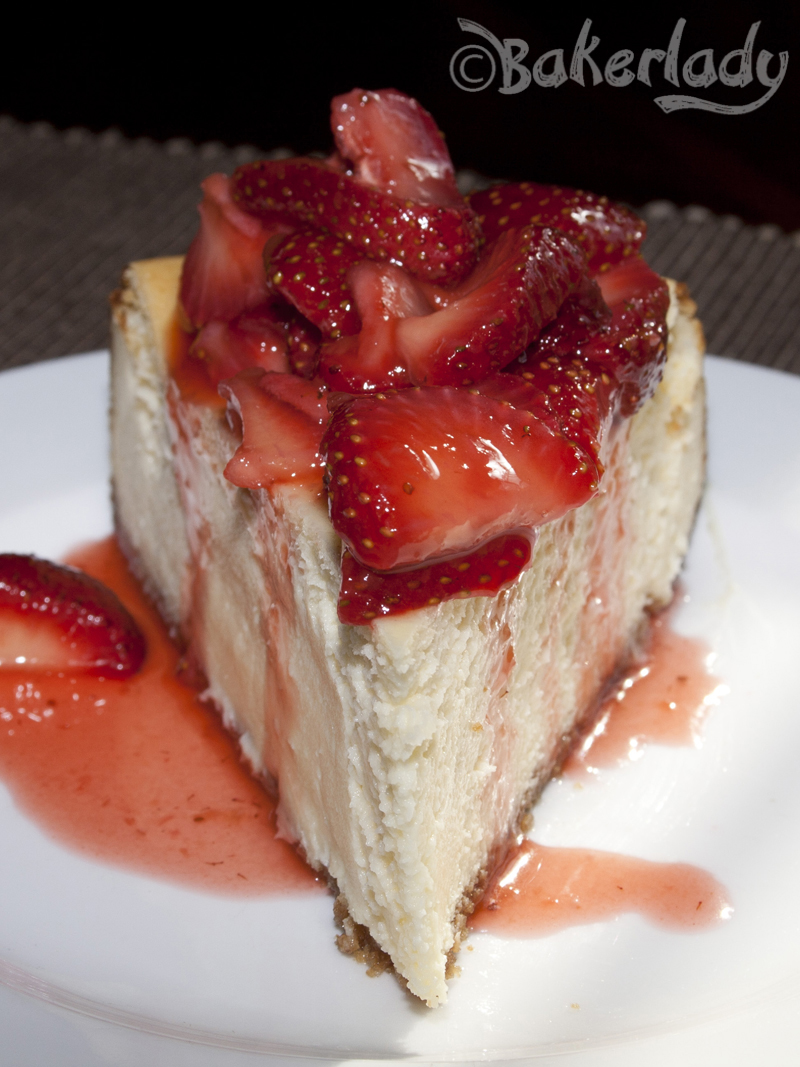
New York Cheesecake
My guiltiest of guilty pleasures is cheesecake. I find it completely irresistible. It is the one dessert I absolutely cannot say no to. There are lots of cheesecake recipes floating around on Bakerlady, but I've never posted the classic New York Cheesecake recipe I absolutely adore. It's from America's Test Kitchen, who I always turn… Continue reading New York Cheesecake

Strawberry Topping
This simple strawberry topping is perfect for topping a New York Cheesecake, on ice cream or pancakes. A mix of fresh strawberries as well as jam gives just the right spoonable texture and sweetness. It really is divine atop a cheesecake. Mmmmmmm, good. Strawberry Topping from America's Test Kitchen Family Baking Cookbook 4 cups fresh… Continue reading Strawberry Topping

Birthday Cake Cookies
I discovered the most disturbing thing last weekend. There are people who (brace yourself...this is earth shattering news) don't like cake. Seriously? I thought my crazy husband was the only genetically deficient (and I mean that in the nicest way possible) one. But apparently, there are more of you out there. One of them is… Continue reading Birthday Cake Cookies
Nanny’s Banana Pudding
I have three indelible memories of my Nanny (my mom's mom) and cooking. The first two revolve around holidays. Thanksgiving and Christmas Eve I have always spent with my Mom's side of the family in my Nanny's home. Thanksgiving found my Nanny with a faded apron in the kitchen with the turkey and all the… Continue reading Nanny’s Banana Pudding
